How to Turn a Photo Into a Step-by-Step Drawing Tutorial
A practical beginner workflow for turning any photo into a drawing lesson with clear sketch stages, better proportions, and less guesswork.

A good drawing tutorial does more than show a finished sketch. It breaks the subject into decisions you can follow: where the big shapes go, how proportions line up, when to add contour, and when to save detail for later.
The easiest way to turn a photo into a useful tutorial is to separate the drawing into progressive stages. Each stage should add one kind of information, so your hand is never trying to solve shape, detail, and shading at the same time.
Start with the largest shapes
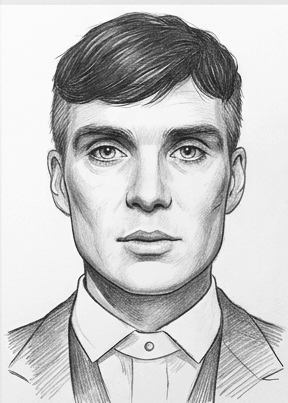
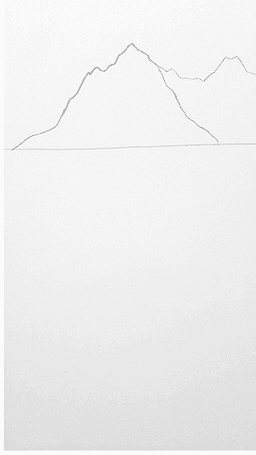
Before drawing eyelashes, leaves, windows, or mountain ridges, block in the largest forms. In a portrait, that means the head shape and feature line. In a landscape, that means the horizon, major masses, and foreground path. In a figure, that means the pose gesture and simple cylinders.
Use a repeatable stage order
- Block in the biggest shapes first.
- Check proportions before adding smaller details.
- Add contour lines only after the structure is believable.
- Map light and shadow before rendering texture.
- Save the darkest accents and final details for the end.
This order works because it protects you from the most common beginner mistake: polishing details on top of a structure that is still wrong. A tutorial should make it easy to pause, compare, and correct before moving forward.
Why photo-based tutorials help
Generic lessons are useful, but motivation improves when the subject is personal. A pet, travel photo, portrait, or favorite building gives you a reason to stay with the process long enough to learn from it.
Learn to Draw uses this same idea: your image becomes the reference, and the app turns it into a guided sequence that is easier to follow than staring at the finished photo alone.